This article displays some advanced YAPP track layouts. Please note that several of these track layouts are controversial. See the discussion page for more information.
Contents |
Junction layouts
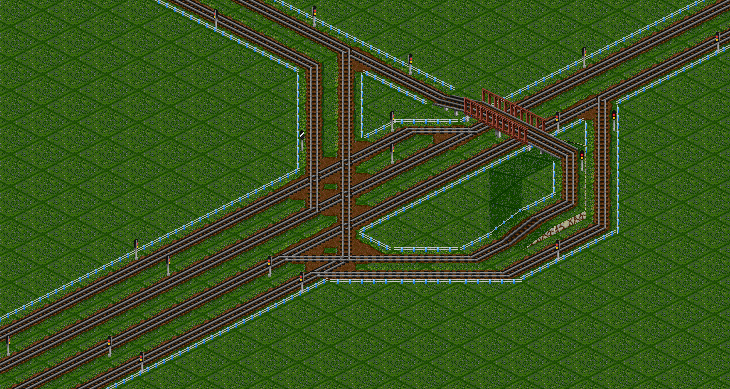
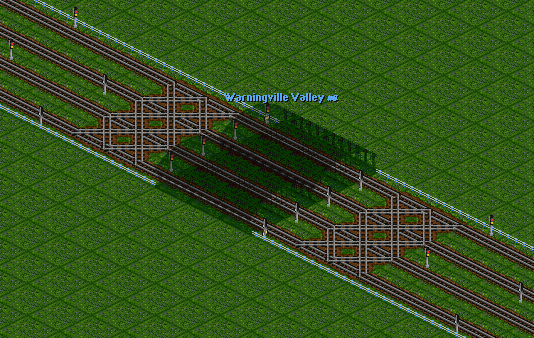
Advanced junction with crossover
The crossover increases the chance that a train finds a path, even if the junction is occupied by a train from the opposite direction.
Track configurations
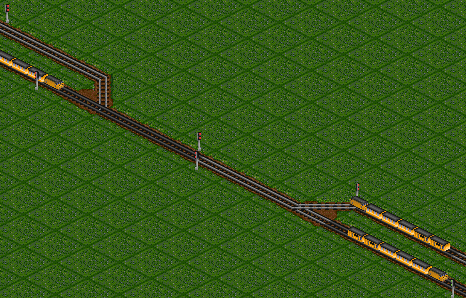
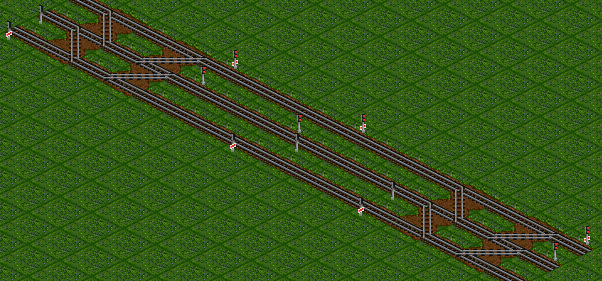
Prioritised single track layout
The basic single track layout can be improved to prioritise trains going in the same direction as the previous train over trains in the other direction. It is realised by placing two two-way path signals facing each other on two tiles. This improves the throughput of the single line stretch, but can potentially cause long waits for one travel direction.
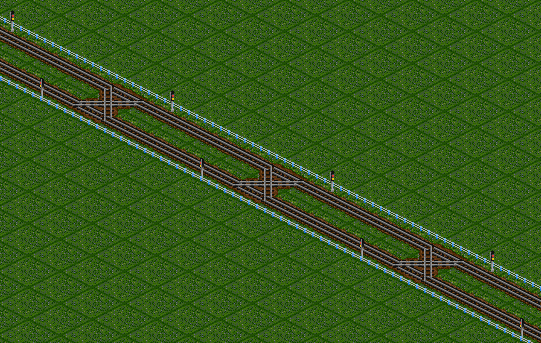
Basic two-way double track layout
Extremely useful if you like to change your track layouts a lot. If you remove a piece of track at one side, trains can still use the other side without having to resignal first. This layout is not very efficient as trains tend to switch sides often blocking the cross-overs.
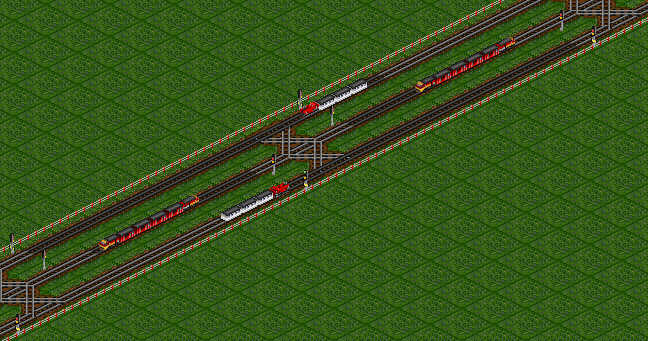
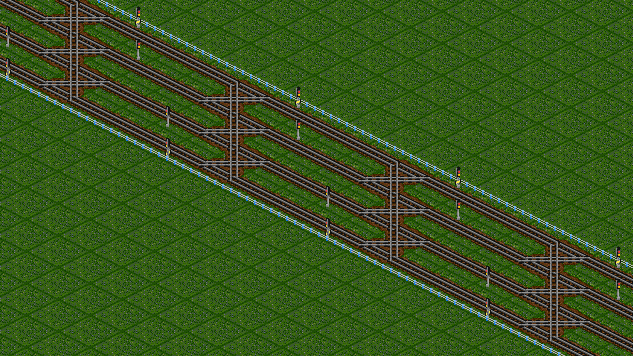
Two-way triple track layout
If your tracks are experiencing "rush hours" this layout may be useful. There's a dedicated track for each direction, and an extra track which can be used for both directions.
Prioritised two-way triple track layout
The two-way triple track layout can be modified by using ideas from the prioritised single track layout. This is especially useful if the amount of trains going in each direction is noticeably different and varying over time. The two outer tracks are dedicated to each direction. The middle track can be used in both directions but back-to-back trains going in the same direction have priority over trains in the other direction.
Two-way quadruple track layout
More traffic, more tracks. Imagine the five-track layout...
Station layouts
Advanced two-way station
At heavily used two-way stations sometimes deadlock can occur. The use of one-way PBS signals dedicates a platform to one specific direction, which decreases the chance of a deadlock. (Most of the times a deadlock occurs when all platforms are occupied by trains wanting to travel in the same direction, but the way out is clogged)
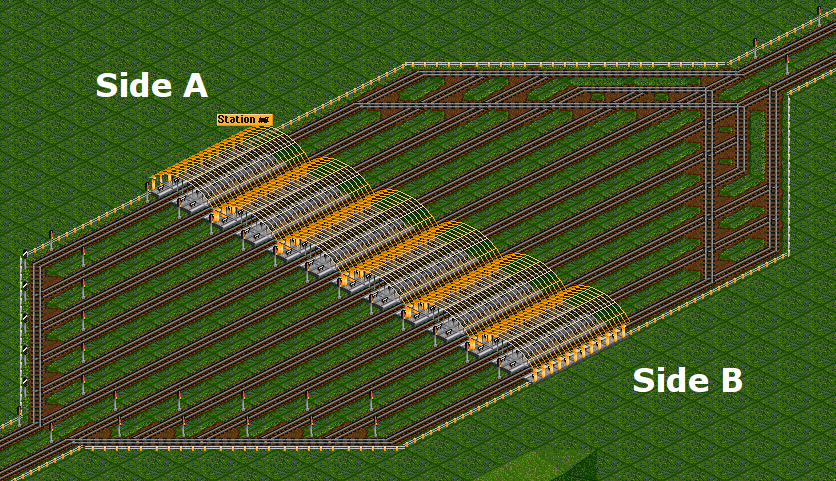
High capacity railway station
This is an example of a compact and high performance RoRo station design. The greatest attention has been paid on the entrance tracks. Not only are they easy to build, but efficiency is also maintained. If many platforms are free, trains will keep filling them without any major stops.
You will also notice, that the station is divided into two sides. Vehicles that come from Side A will try to occupy Side's A platforms. Same goes with Side B. When traffic load gets lower or many platforms are filled, trains will also occupy adjacent sides if it is better/faster. NOTE: it is worth building a load balancer after this station as trains don't have a choice over two exiting tracks.
☑
☑
☑
☑
☑
☑


