<-- back to 32bpp Graphics Development
Contents |
Introduction
The Tile Test Tool is a small SDL based program written in C++ to help with the development of the new graphics. It features a dimetric grid (often called isometric though), that lets you place different tiles and set up different height levels for tiles. It can use images in a variety of formats including PNG.
For more information see this topic on the forums.
Change Log
Release 1 (Early hours of Monday 24th October 2005)
- First version
- Source, Windows and OS X release
Release 2 (Nearly tea time on Monday 24th October 2005)
- Variety of other images supported via SDL Image
- Conversion of graphics into PNG format
- Tile creation tool
- More tiles included
- Bug fixes for better OS support
- Source release
Tutorial
File Format
All of the data files are stored in the data/ directory, and then each tileset is stored it its own directory under data/tiles/. A tileset consists of three different images for each tile, one for each zoom level, and a data file.
So you end up with something like this:
data/
|-- ctile.sh
|-- ets.png
|-- font
|   |-- font.dat
|   |-- font.ini
|   `-- font.raw
|-- fts.png
|-- openttd.128.png
`-- tiles
    |-- bare
    |   |-- bare0.png
    |   |-- bare1.png
    |   |-- bare2.png
    |   `-- info
    `-- bnk
        |-- blank0.png
        |-- blank1.png
        |-- blank2.png
        `-- info
The images have to be in a format that SDL Image can understand and also support transparency, it is suggested they are in PNG format as this is what is going to be used for the new graphics when they get integrated into the game.
The data file itself needs to be called info, and holds the image file name, what zoom level it is for, and offsets. An example of this is below:
shore0.png Z0 X0 Y-32
shore1.png Z1 X0 Y-16
shore2.png Z2 X0 Y-8
The first part is the image name, the number after Z refers to the zoom level (0 biggest, 2 smallest), and the numbers after X and Y refer to the tile offset.
The bnk (blank) and bts (big tile select) tilesets are used for displaying the grid, and as such you cannot place them as tiles, but if you want you could make the images a bit nicer.
Default View
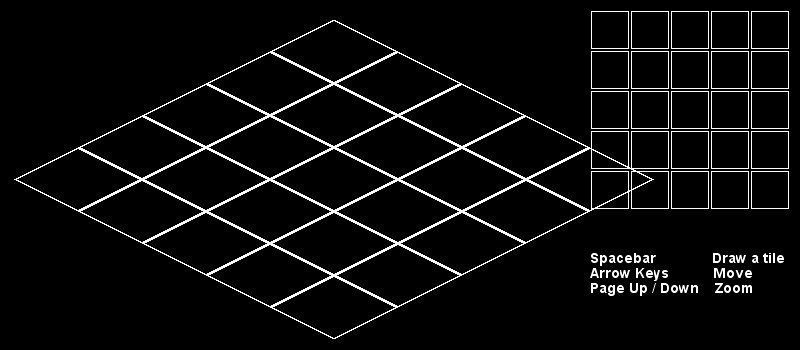
When you first load up the program you will be presented with the following. It may not look very colourfull, but it is fully 32bpp and does the job.
The isometric view will show you the tiles when loaded, and the bit on the right lets you select tiles. If you are lucky enough to have a web browser that can display images you will be able to see that the spacebar, arrow keys, and page up / page down keys do special tasks.
Adding a tile
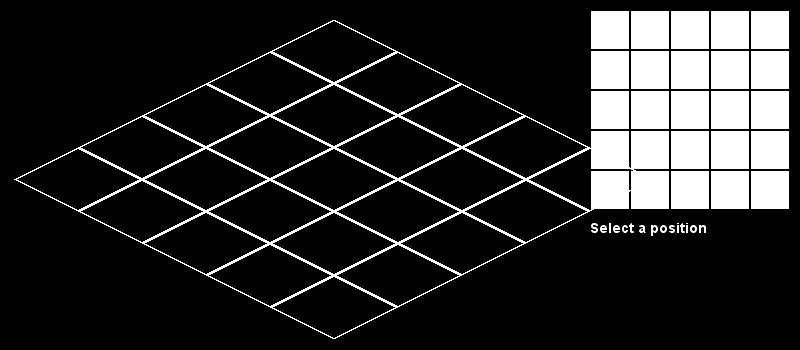
To put a new tile down press the space bar, and then click on a tile name that sounds tasty. These refer to the folder names that we were talking about earlier. Once you have clicked a name the bit on the right hand side will change, like this:
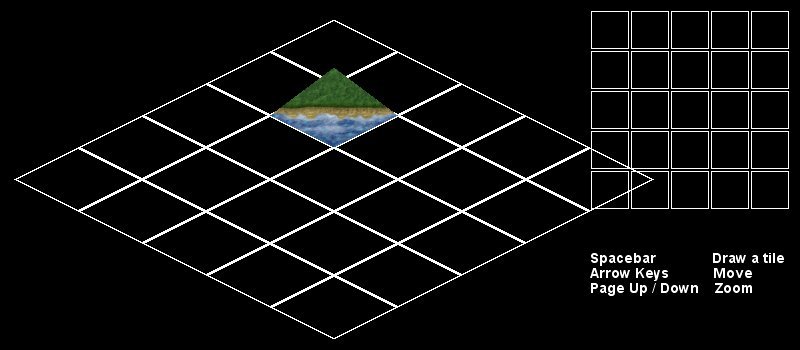
These refer to the positions of the tiles on the grid. Unfortunately there is one problem, the tiles in the top left of the small grid refer to the tiles in the bottom right of the big grid (and vice versa), this isn't that much of a problem though and you get used to it after a while [Note: This has not been fixed in release 2]. So select an position, and voila - you should have something like this:
Now place a few more tiles so it looks nice, and then move on to the next bit.
Selecting tiles
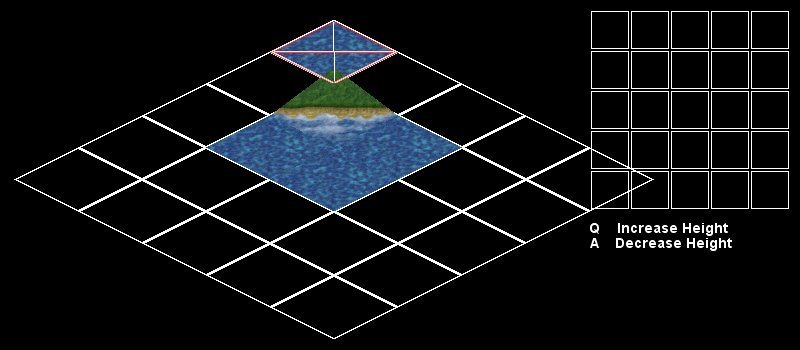
If you click on one of the tiles in the small grid, the coresponding one (note the bug) in the big grid will now have a funny little indicator over it. This will stay there for around 15 seconds and then dissapear.
All you can actually do to a tile at the moment if change the height of it, so before the indicator disapears press Q or A - after you have pressed these it will stay there for another 15 seconds.
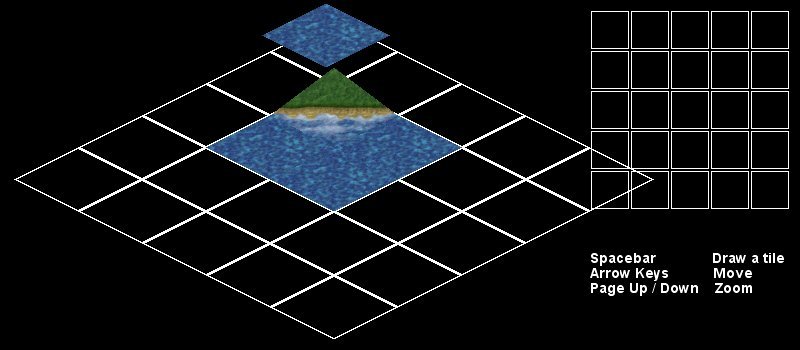
As you can see the tile has magically gone up one height level. [Note: The offsets are slightly broken, and this has yet to be fixed -- please tell me what they are supposed to be!]
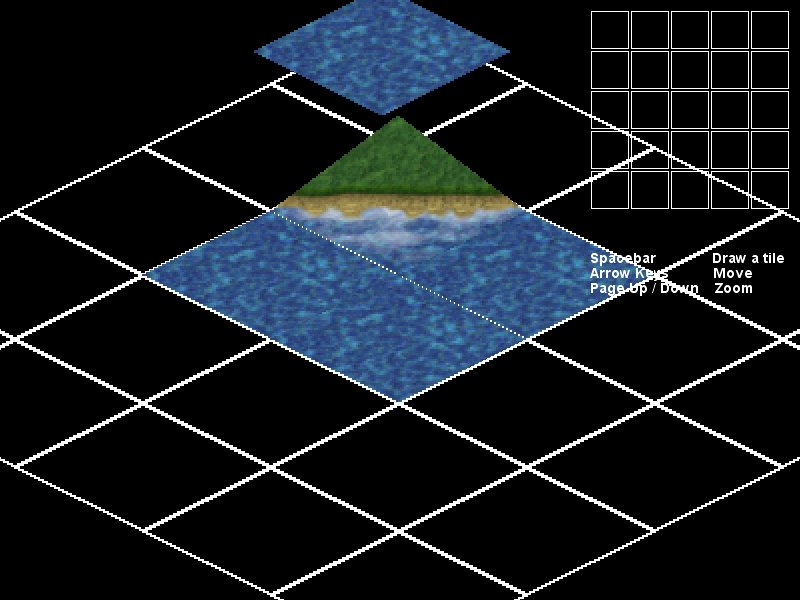
More screenshots
Tile Creation Script
As of release 2 there is a tile creation tool that will set everything up for you. The requirements are that you are on a Unix based system, and have Image Magick and Wget installed. It takes a 128x63 image and resizes it to the bigger and smaller versions, and creates all the directories and files needed. It is in the data/ directory and called ctile.sh. It takes two arguments, the first the URL of the image, the second the directory you would like the image to be placed in. For example:
$ ./ctile.sh http://doug.mudpuddle.co.nz/albums/ground/dark.png water1
| ||||||||||||||||

