-
Basic 3-Way
-
Line Merge
-
Half Cloverleaf
-
Half Spaghetti
-
Compact 3-Way
-
Compact 3-Way B-M Junction
-
Ultimate 3-way
-
Half Transmogrified
-
Braided Junction
-
Basic 4-Way
-
Roundabout
-
Cloverleaf
-
Spaghetti
-
Star
-
Complex Star
-
Branch-Merge
-
Tetrathorp
-
High Speed 4-Way Fly-over∕under
-
Pre-Signaled Roundabout
-
Advanced Roundabout
-
Right-of-way Roundabout
-
Improved Roundabout
-
Transmogrified
-
Tightlong
-
Deepblue2k8 4-way Junction
-
Multi-way/multi-track cloverleaves
-
Dual Tetrathorp
-
Dual Transmogrified
-
Dual Branch-Merge
-
Quad Branch-Merge
-
Quad Tetrathorp
-
6-tuple Branch-Merge
-
8-Way Star
-
High Speed 4-way
Track Layouts Unuseful junctions
| Junction Criteria | |||||||||||||||||||||||||||
|---|---|---|---|---|---|---|---|---|---|---|---|---|---|---|---|---|---|---|---|---|---|---|---|---|---|---|---|
|
| ||||||||||||||||||||||||||
| |||||||||||||||||||||||||||
Contents |
Variations
Star with Tunnels
Industrial Star
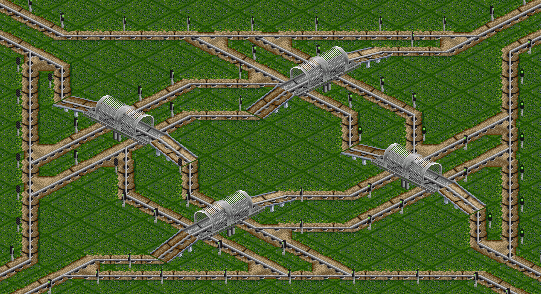
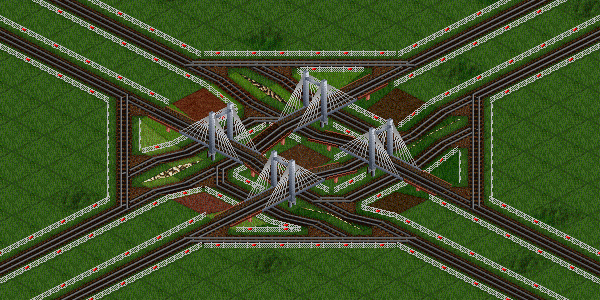
This variation is compact but not especially fast. There are no right-angle turns but left turns are one-tile double bends limited to 55 MPH (88 km/h), as in most less-complex junctions. It is intended to carry a heavy load of industrial trains with great variation in train lengths.
This is a right-hand-running image with signals on the drive side. All signals are standard path except for a single one-way path at each entry. The signaling shown hustles trains through closely, without regard for the possibility of blocking other trains; a more conservative scheme would have fewer signals inside the junction, or none. A combo or block scheme is also possible.
A sufficiently long train (about 11 tiles), making a left-hand turn from, say, the NW-bound main to the SW-bound, that breaks down just after it reserves its exit to the main; can block all traffic NW and SW straight, SE to SW, NW to NE, and of course trains following NW to SW. That is 5 of the possible 12 routes through the junction, the maximum disruption. Shorter trains are able to block fewer routes. Of course, a blocked train may block others, aggravating any jam. Deadlocks, in which a train blocks its own exit or two or more trains block one another's exits, are impossible.
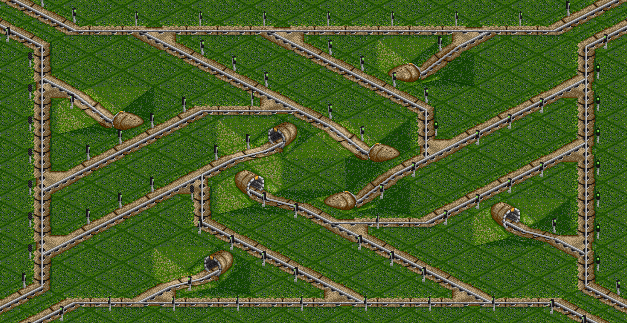
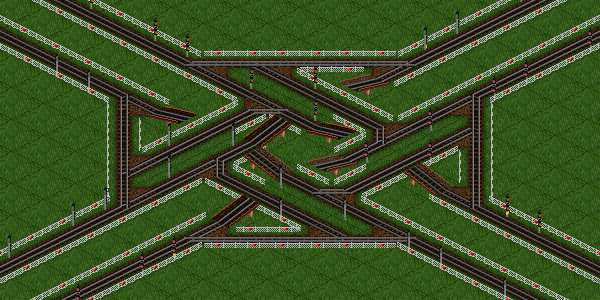
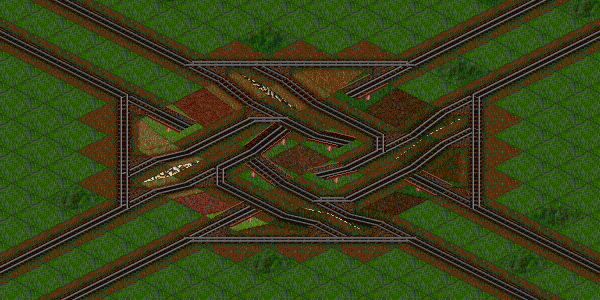
This image reveals the areas underneath the bridges.
| Junction Criteria | |||||||||||||||||||||||||||
|---|---|---|---|---|---|---|---|---|---|---|---|---|---|---|---|---|---|---|---|---|---|---|---|---|---|---|---|
|
| ||||||||||||||||||||||||||
| |||||||||||||||||||||||||||
Sunken Star
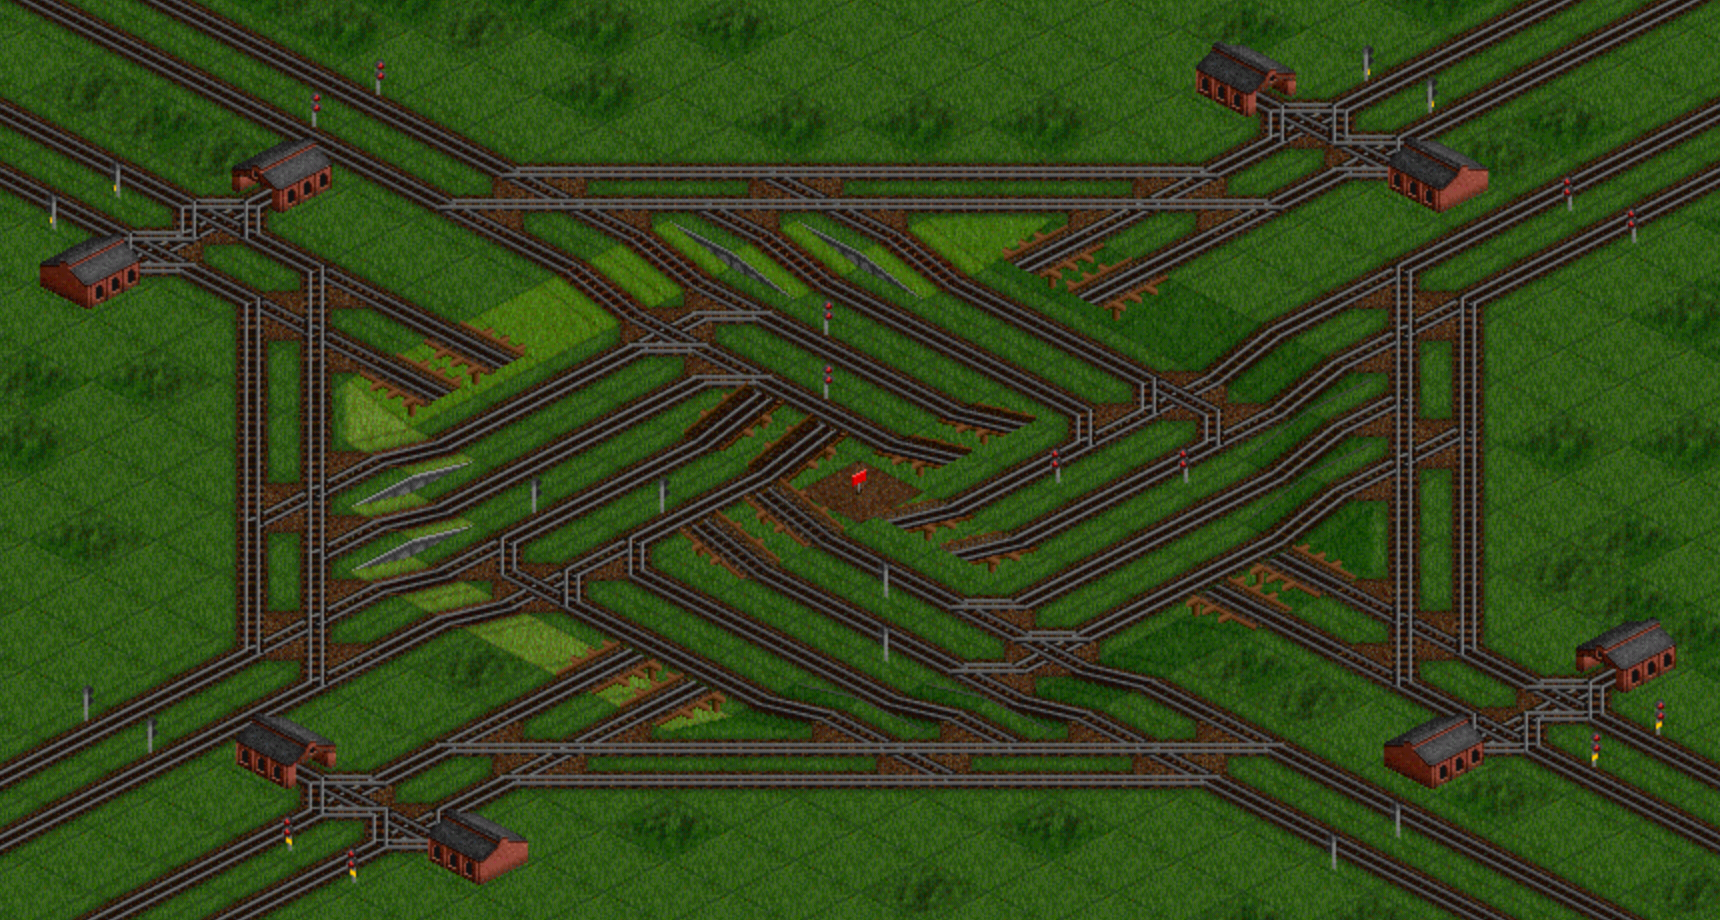
This has the same character as the Industrial Star but is often faster. Engines pulling up and out of the well may have momentum left over from rolling down and in. Also, while the engine is on the upgrade, cars may be on the downgrade, assisting. This is especially kind to through trains.
Fat Star
Sunken Star adapted for 4-track main lines.
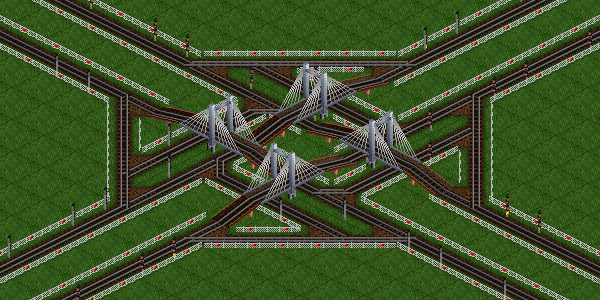
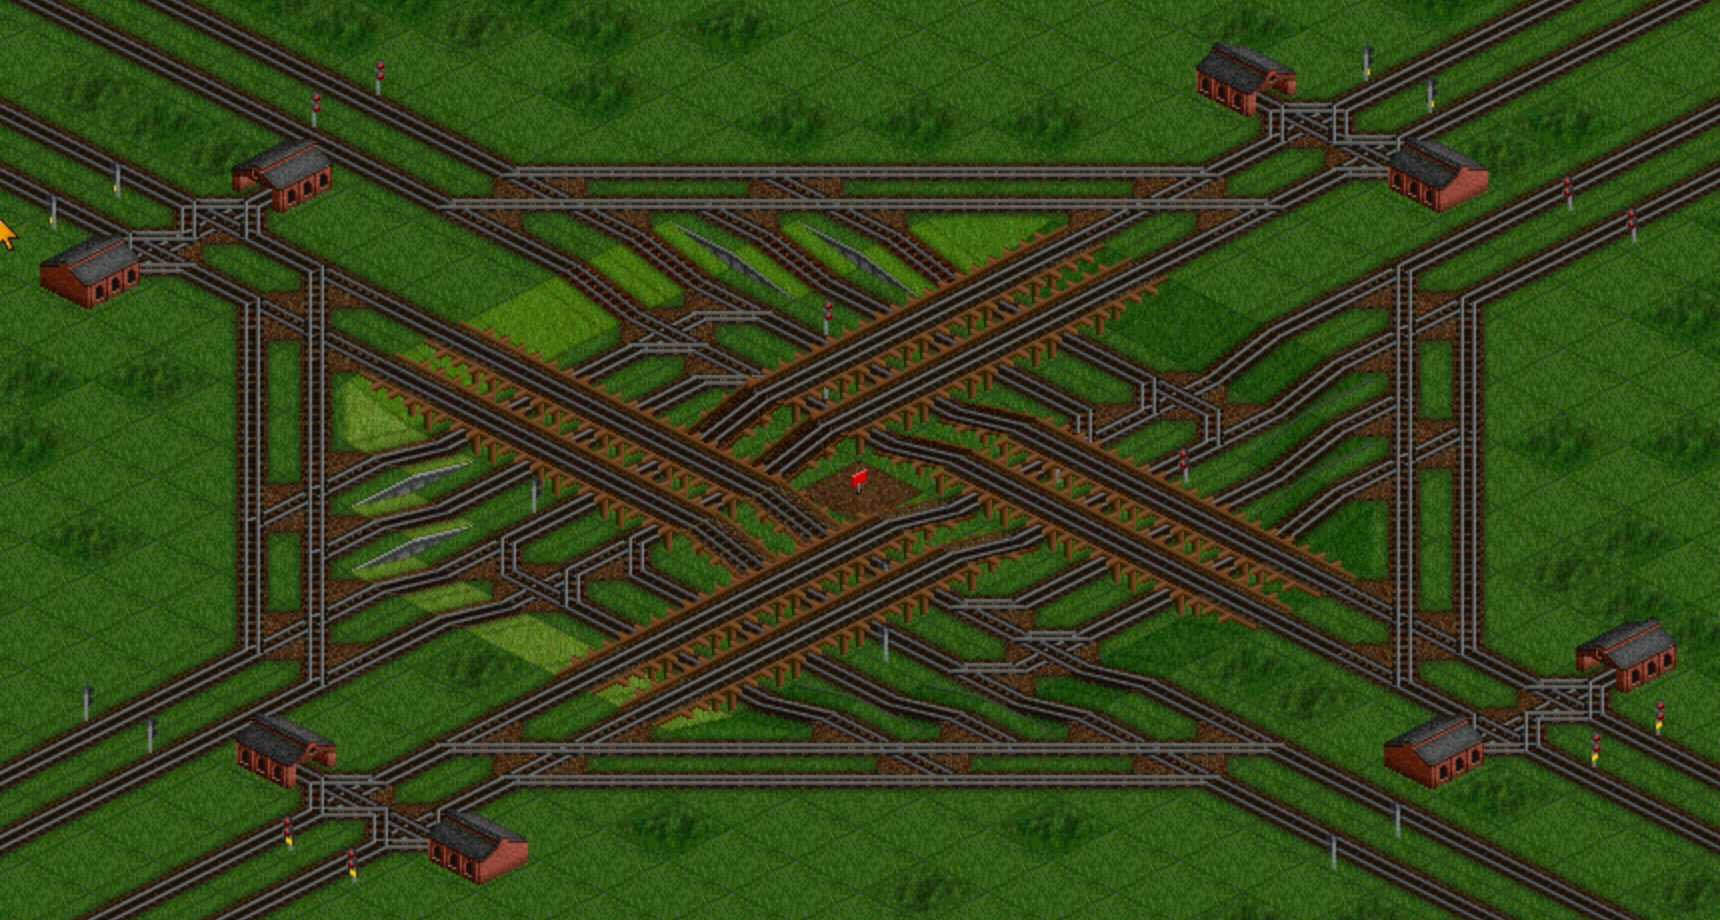
Emphasis continues on compact management of dense traffic and slow, heavy trains. Two lines of traffic run in parallel from any entrance to any exit. Trains up to 8 tiles long wait on the bridges.
Depoting and signalling such a junction raises conflicts. If a jam does develop, depots rescue stale trains; but always slow several trains when one chooses to depot here. It may well be wise to place main line depots a couple of train lengths away... perhaps even forced.
One-way path signals before depots keep impatient trains from backing up and fouling the main line. Signals on exits are placed to give trains a chance to get a good portion of consist up the hill before a possible wait; yet not keep followers waiting unnecessarily. Note signals in the pit!
Construction begins by digging a 9x9 octagonal pit; dig 9x9 square then re-raise at 3 points in each corner. The entire junction, depots and signals included, is 21 tiles across.
You may question the choices of interlocking, which allow trains to swap between inner and outer tracks as well as to choose exit direction; and you are right to do so. Examine your traffic balance and adjust accordingly. Waypoint as a last resort.


