| 1. Two Platforms | 2. Two Tracks | 3. Basic Network |
Railway construction: Road construction: Waterways construction: Airport construction: General construction: Working with vehicles:
Basic Network
Now you can create point-to-point connections which work really quite well. The next logical step is to combine multiple of these point-to-point connections: building your first rail network!
The advantage of rail networks is that you can reuse existing tracks for multiple purposes. Creating a network is not much more than just attaching some other tracks to the tracks you already have. In the following examples we'll be looking at using the platforms at the power plant to connect a second coal mine.
Connecting the track
Place some track and add signals. It doesn't really matter where you connect to your existing network, but some places are more practical than others. The best way to learn this is just by doing. Our second coal mine is to the north, so the tracks obviously need to go in that direction. You already know how to build a station at a coal mine, so just repeat what you've done before. The same applies to the signals.
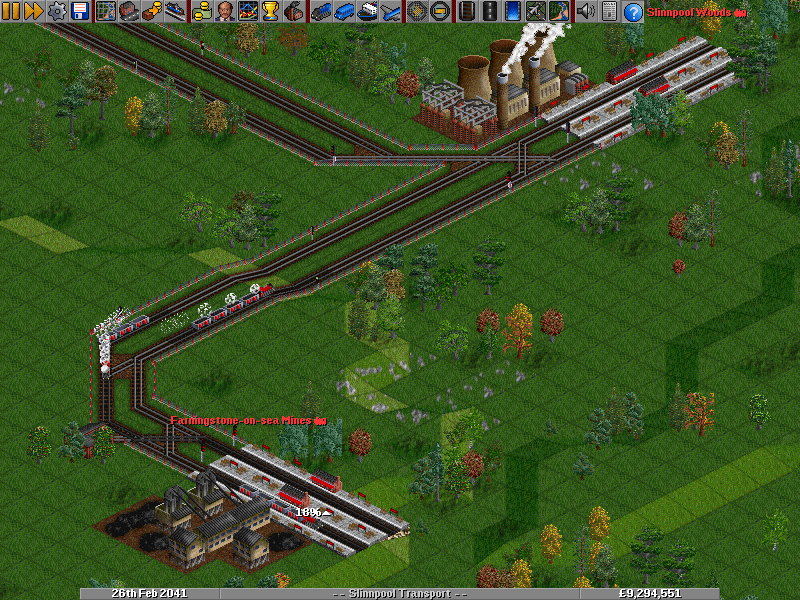
The image below shows a simple way to connect to the existing station.

|
|
A second railway line connected to the power plant station (click to enlarge) |
Note that this is not the most ideal setup. It works, but we slightly forgot about the rule trains need to be able to wait at any signal without blocking intersections. Imagine a five-tile train from the power plant to the original coal mine that has to wait at the first signal from the junction. How many tiles are there for waiting trains? That's right, due to our new track there's only four tiles left! The five-tile train will now block the path to and from the second coal mine.
If you don't have too many trains, this will not cause too many delays. The solution of course is as easy as the problem: move the signal one tile. Move? Yes, that's placing a new signal and removing the old. You can use the dynamite to remove the signal, but that also removes the track section. If you only want to remove a signal, first click the  Place Railway Signal button in the railway construction toolbar and then click the
  Bulldozer button. This will change the signal tool from building to removing. Click a signal to remove it.
Warning: Removing signals in active networks can cause trains to crash. If you want to play safe, first stop all trains around the area that you want to change signal in. Then make the changes to the signal setup. Now start the trains again one at a time.
Bridges
The previous example had a bit of single track towards the second coal mine. If you have a lot of trains, this will become a bottleneck.
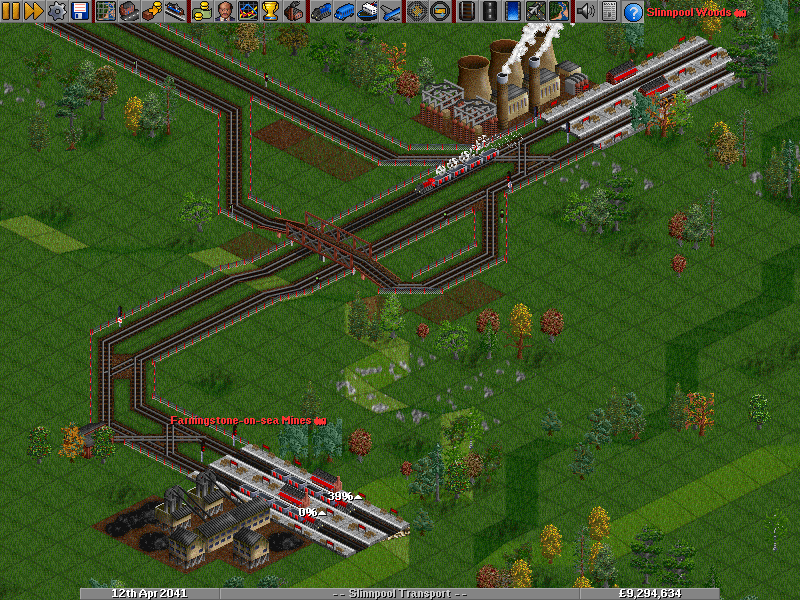
A solution to this is to use a bridge such that trains heading towards the power plant are on one side and trains departing from it are on the other side. You can build a bridge using the  Build Bridge button in the railway construction toolbar. How to build bridges from there is explained in the separate building bridges article.
The result could look like this:

|
|
A bridge in the rail network (click to enlarge) |
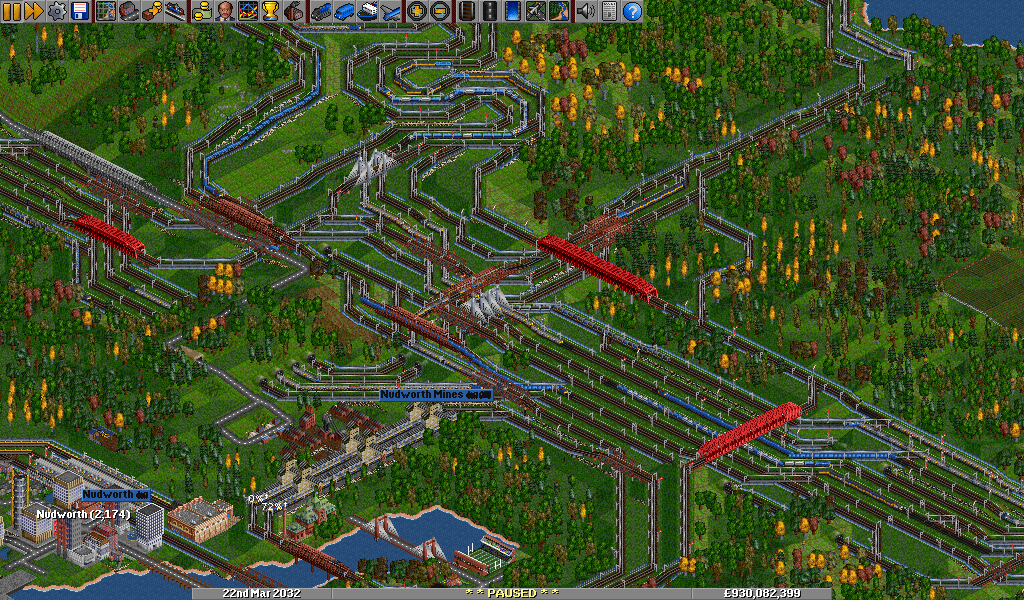
All the basic techniques you've learned so far can be used to create an advanced network. The menu at the right gives you access to detailed instructions on various topics. Combining all this can eventually lead to more complex network designs, as in the example below.

|
|
An advanced network which in principle is identical to the techniques explained in this tutorial, only much bigger! (click to enlarge) |


